Setting up Windows for developers with WSL2
Many developers use Mac. That would be for building iOS apps. But there are more competetive laptops with Windows. If you do not need to build iOS apps, Windows is actually a great option for developing, thanks to WSL2. Following this article, you can have a professional development environment without a hitch.
This includes…
- Git, Git bash
- Windows Terminal
- WSL2
- Using Linux GUI apps
- Ssh to WSL
- Docker
- VSCode
- Defender Antivirus Exclusion
Windows version and build
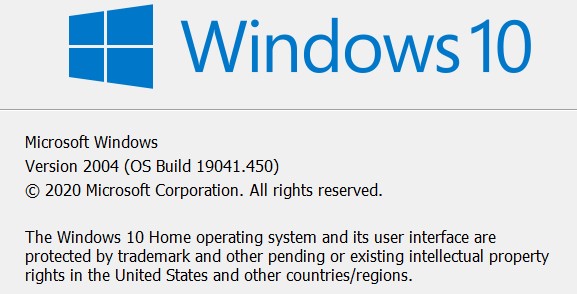
Wnd+R, type winver, enter will give you the version info like above. If you have already version 2004 (OS build 19041), you are ready to go.
May 2020 update (version 2004 or build 19041) will support WSL2 and Docker will use WSL backend as a docker engine by default. Windows Home edition is also okay since you can now use Docker.
If your Windows does not show 2004 update for some reason, try this link to update.
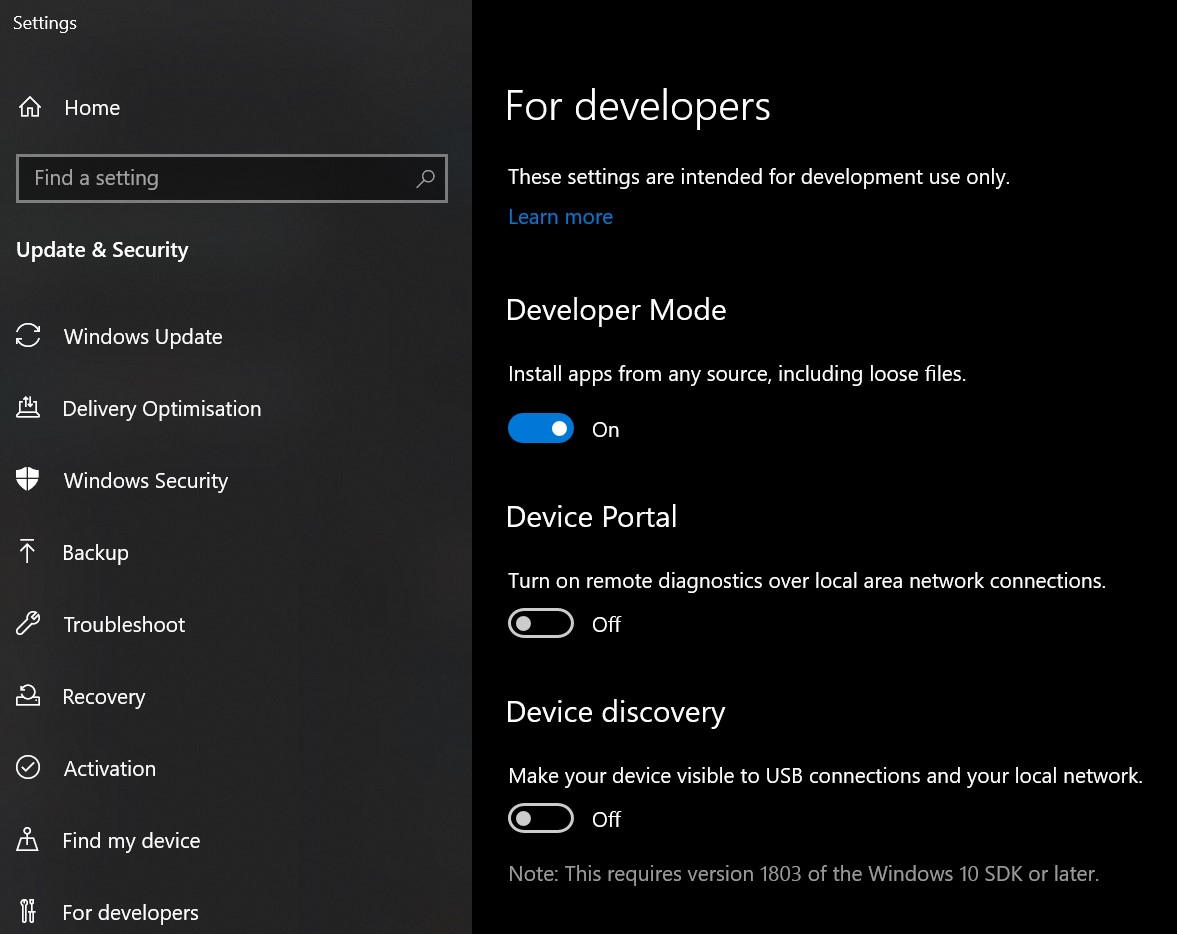
Developer mode
Symlinks needs Administrator privilege or developer mode.
A git repo with symlinks will needs this
Find more about using Symlinks in Windows
Git and Git-bash
Now git is a must have when you develop.
Install Git with Git bash
Let’s download here and install or update if you have already
C:\>git update-git-for-windows
If you don’t mind overriding DOS command, you can use bash command in command window
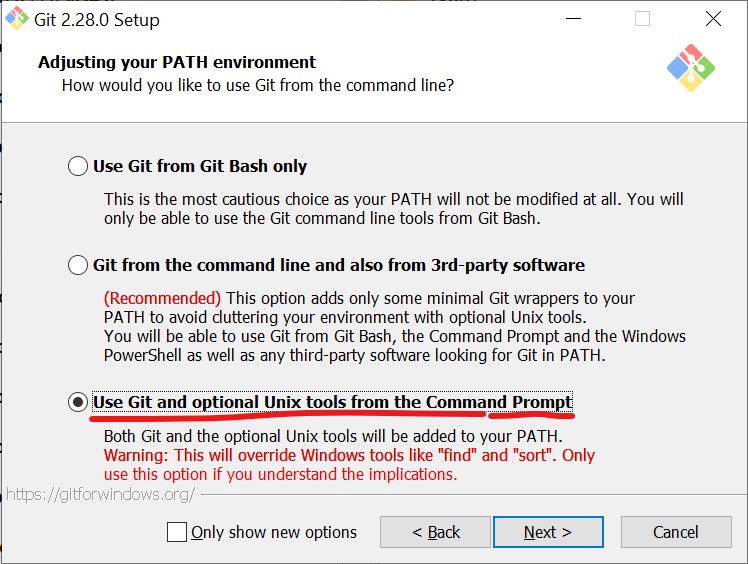
Choose autocrlf as input
and enable symlinks while installing
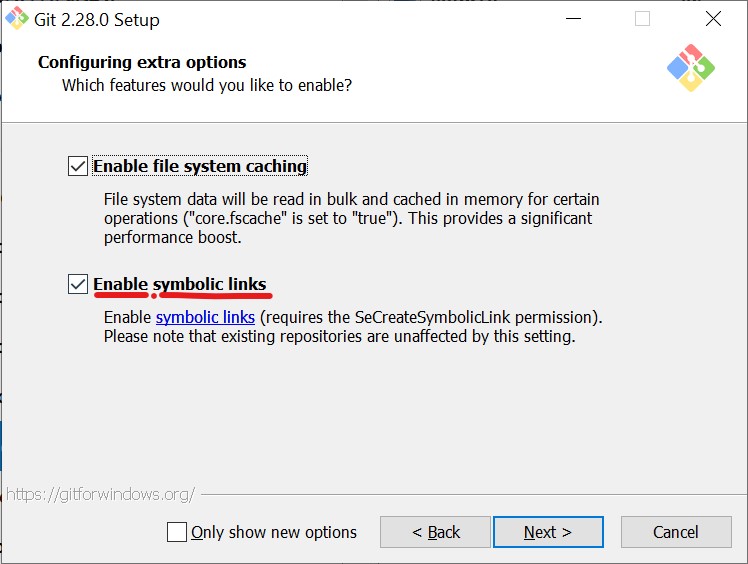
** symlinks need developer mode or administrator
Don’t worry if you missed the symlink setting. You can set anytime later
C:\>git config --global core.autocrlf input
C:\>git config --global core.symlinks true
Don’t forget to set your info
C:\>git config --global user.name "Your Name"
C:\>git config --global user.email "your-email-addr@your.domain"
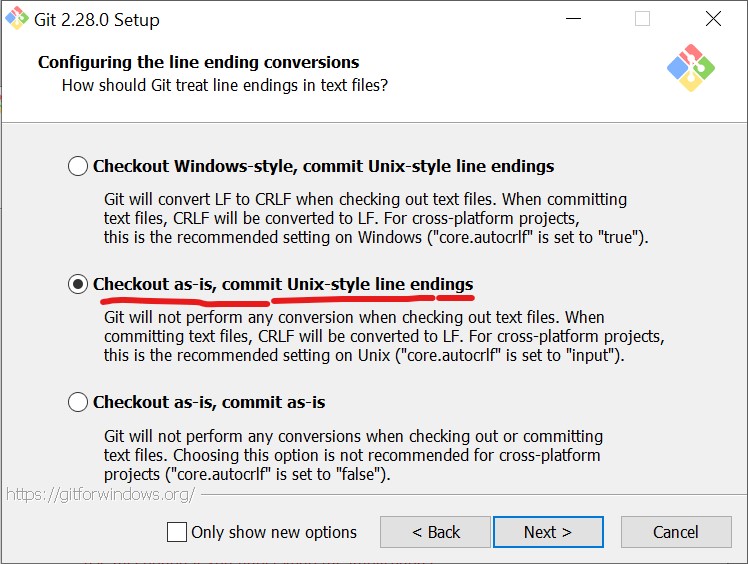
About autoclrf
Should be input.
Converting LF to CRLF when checking out might seem to be nice but most files can be used in docker when you develop. And it will complain about CRLF.
Don’t worry about LF only files unless you are using Notepad.
Setting up RSA key
Github, Gitlab or Bitbucket (or more) use RSA key for authentication.
If you have your public key registered to the git service, you don’t have to provide username and password.
C:\>ssh-keygen -t RSA -b 2048
and enter a few times to answer using default value
C:\>type %USERPROFILE%\.ssh\id_rsa.pub
and copy paste the public key to your git service.
This is not only for Windows but you will need in in WSL as well. After install WSL, do that again in WSL side.
Windows Terminal
In MS Store, you can install Windows Terminal
CamingoCode font
I like CamingoCode. It is quite slick and clear monospaced font and provides distinctive I, l and 1 glyphs.
Download TTF files from the link above and install by right clicking on each TTF files.
You can add this to the profile of the Windows Terminal setting.
	      	      "fontFace": "CamingoCode",
	      	      "fontSize": "9",
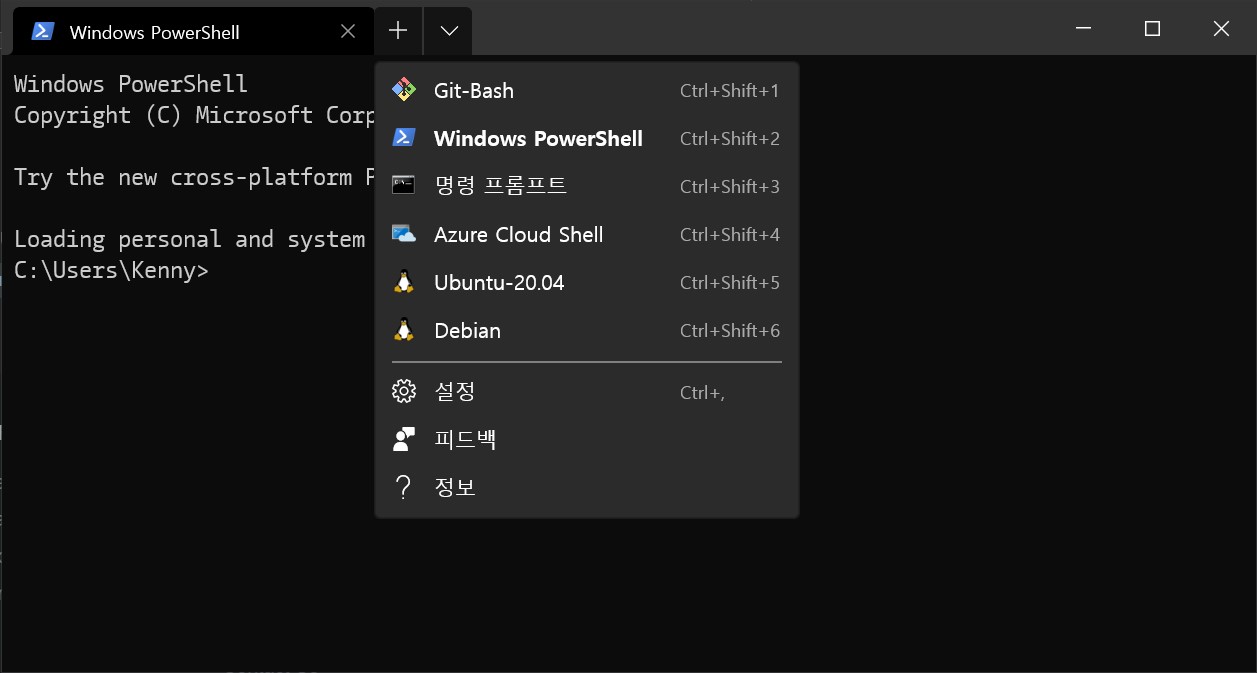
Using Git-bash
Add following to profiles.list array in the Terminal setting.
            {
                "guid": "{abc00000-0000-0000-0000-000000000000}",
                "name": "Git-Bash",
                "commandline": "%PROGRAMFILES%\\Git\\bin\\bash.exe",
                "icon": "%PROGRAMFILES%\\Git\\mingw64\\share\\git\\git-for-windows.ico",
                "fontFace": "CamingoCode",
                "fontSize": "9",
                "startingDirectory" : "~"
            },
WSL2
Windows Subsystem for Linux has been recently added support for version 2. It provides better file I/O performance and an actual Linux kernel. You cannot use the host disk for WSL2 local files like in WSL1.
Using WSL2 is not quite different to using Hyper-V VM, but you can share the host (Windows) memory with the guest (Linux) so you can optimize memory usage as you are using only one OS. (Oracle Virtualbox also does this as well but you cannot use it with Docker at the same time :/)
And more importantly, Docker supports WSL2 now and it routes all the exported ports from the container to your host network.
** Windows 10 Home edition also supports WSL2.
** You still need the virtualisation support in your BIOS or UEFI setting.
Installing WSL
You can refer the official document for details but could just follow my sequence.
Open the elevated powershell. Right click the start button and choose Windows PowerShell (Admin)
- Enable WSL
C:\> dism.exe /online /enable-feature /featurename:Microsoft-Windows-Subsystem-Linux /all /norestart - Enable the ‘Virtual Machine Platform’ optional component
C:\> dism.exe /online /enable-feature /featurename:VirtualMachinePlatform /all /norestart -
Install kernel update
Download the WSL2 kernel and install. Refer to the official document for details. -
Install Ubuntu
You can use another Linux distro but I prefer ubuntu. Using MS store, install the distro - Set WSL 2 as your default version
C:\> wsl --set-default-version 2 - Set default username
Running Ubuntu from the start menu will need you to input the username and password for the first time once
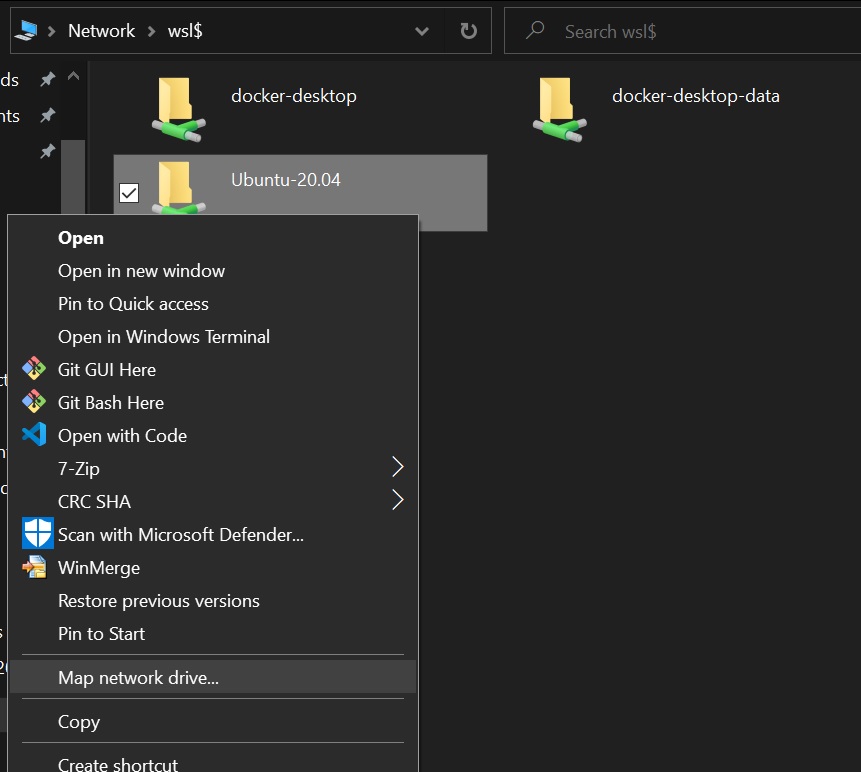
Accessing WSL directories
By default, WSL drive is shared by \\wsl$\<distro name> like \\wsl$\Ubuntu-20.04.
Cmd+R, type \\wsl$ and enter will show the Linux root directories.
You can also map the drive by right click the directory.
Sudo without password
You can use sudo without password in your WSL
$ sudo visudo
will show the editor and you can add
<username> ALL=(ALL) NOPASSWD:ALL
at last.
Replace <username> with yours and ^x, y, enter to save and quit Nano.
Managing WSL memory
WSL2 shares your host memory but without a limit, it could drain your host memory.
It is required to set the maximum at half of your entire memory. It will not use the maximum memory unless required.
Limiting maximum memory usage
Create %USERPROFILE%\.wslconfig with the following content
[wsl2]
memory=4GB
Reclaiming WSL2 memory
On an MS blog article, it says
In order to return as much memory to the host as possible, we periodically compact memory to ensure free memory is available in contiguous blocks.
WSL kernel tries to return memory as much as possible but Linux still caches memory and WSL does not try to clear since it would affect the performance.
If you want to give more memory to host, try this command on WSL,
$ echo 1 | sudo tee /proc/sys/vm/drop_caches
or on Windows, you can do
C:\>bash -c "echo 1 | sudo tee /proc/sys/vm/drop_caches"
SSH to WSL
Since WSL2 is a linux VM, you can install sshd in it. But to connect to the machine you will need the IP address.
One of the issue on Hyper-v/WSL2 is you cannot make the VM’s IP address static. When the network connection has been changed, the host virtual network interface address are changed so the guest address is also changed. This would not happen so often but if it changed, you need to get the new address again.
Recently I have found a nice article to solve this issue.
You can install Openssh server in Windows side and set the default shell as bash(WSL2).
Following powershell commands will install Openssh server
Add-WindowsCapability -Online -Name OpenSSH.Server~~~~0.0.1.0
Set-Service -Name sshd -StartupType 'Automatic'
Start-Service sshd
New-ItemProperty -Path "HKLM:\SOFTWARE\OpenSSH" -Name DefaultShell -Value "C:\WINDOWS\System32\bash.exe" -PropertyType String -Force
And try
C:\>ssh localhost
It will show ssh prompt to login with your Windows login password.
If you have got used to Putty or Kitty, now you can use it as a terminal.
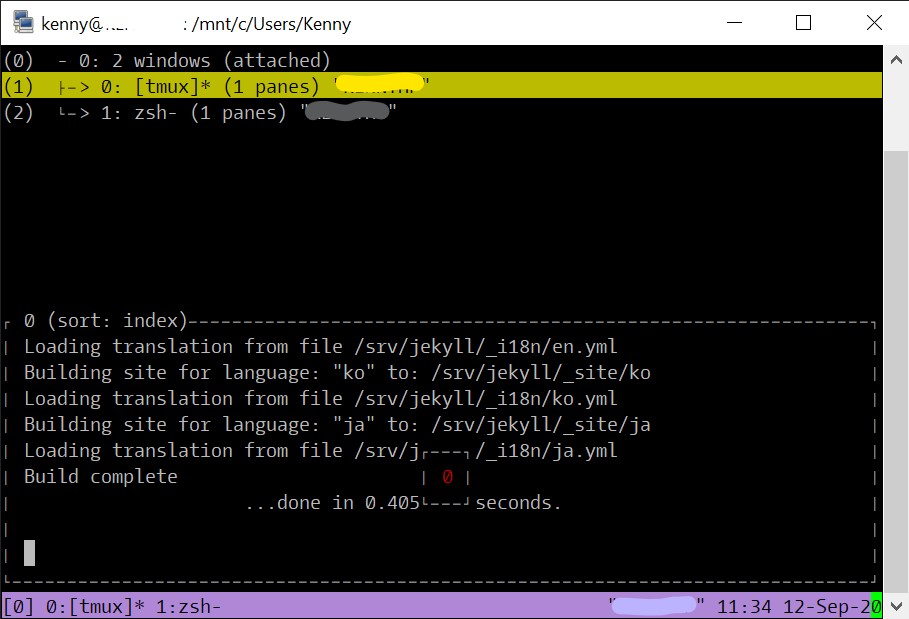
Tmux is a command line session manager. Visit the Official Wiki if you are interested.
ssh without the password
If you register your public key (id_rsa.pub usually) to .ssh/authorized_keys file, you can connect without the password.
But if you belong to the Administrators group, you should add the public key to %programdata%/ssh/administrators_authorized_keys.
Using Linux GUI Apps
GUI is not supported in WSL. But if you can use XServer, Linux GUI apps can be used in Windows side. Try VCXSrv project. It’s an opensource X11 server. Download it here and install.
Launching X server
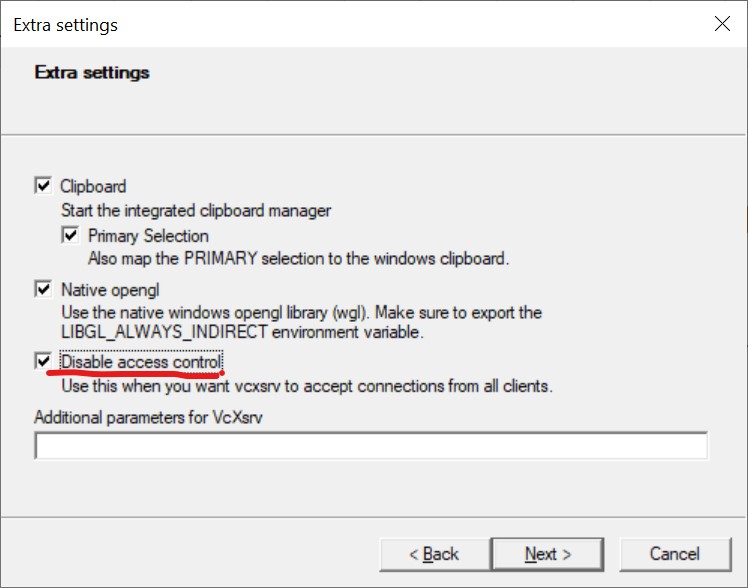
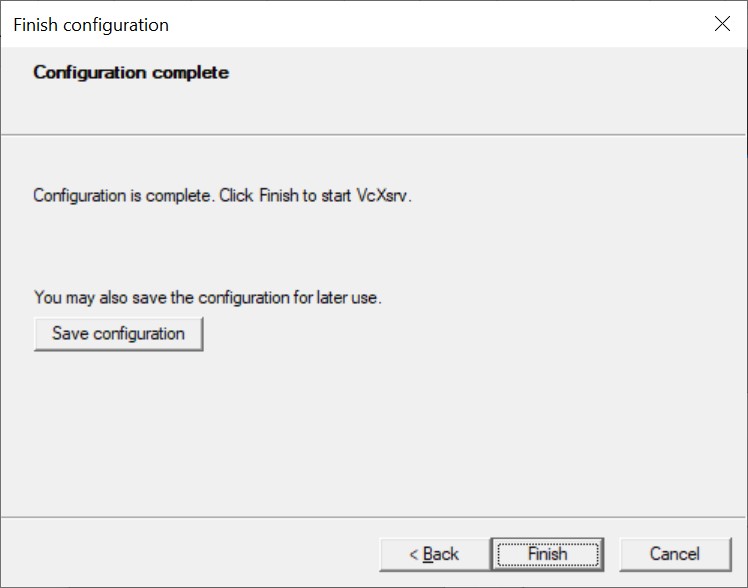
Run XLaunch and it will ask some settings. Don’t forget to turn on Disable access control. If you save the setting on the Desktop, you can use the config file to launch the server without setting it again.
When you launch vcxsrv for the first time, Windows Security Alert will ask if you allow that but by default, private access is only allowed but you actually need both private and public.
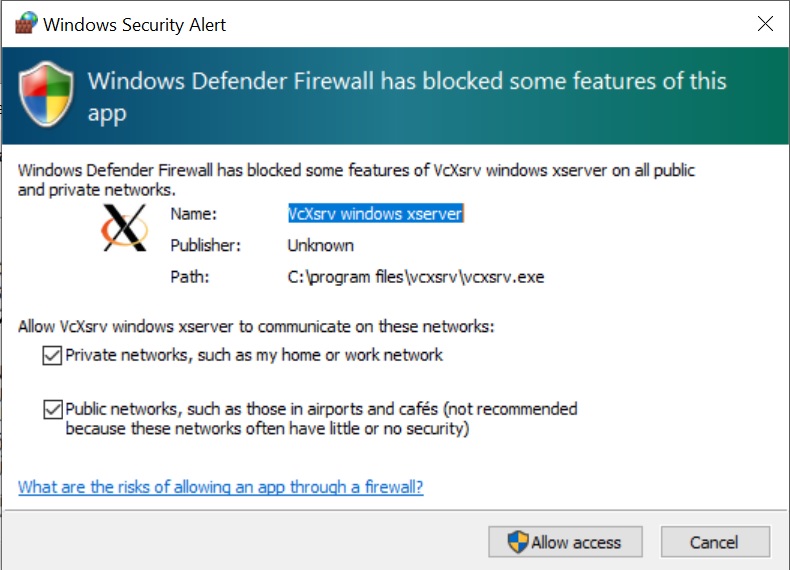
If you have just allowed only private, or not sure, check Windows firewall.

And allow all the 4 items in the Windows Defender Firewall with Advanced Security if you haven’t yet.
![]()
You will have this icon in the system tray.
Setting DISPLAY env variable
You will also need to set DISPLAY env var in the WSL side. Because the host network address is not fixed, you might need to run the following before you use. Save the following to like ~/setDisplay and run source ~/setDisplay or jusr . ~/setDisplay.
$ export DISPLAY=$(awk '/nameserver / {print $2; exit}' /etc/resolv.conf 2>/dev/null):0
$ export LIBGL_ALWAYS_INDIRECT=1
Trying a Linux app
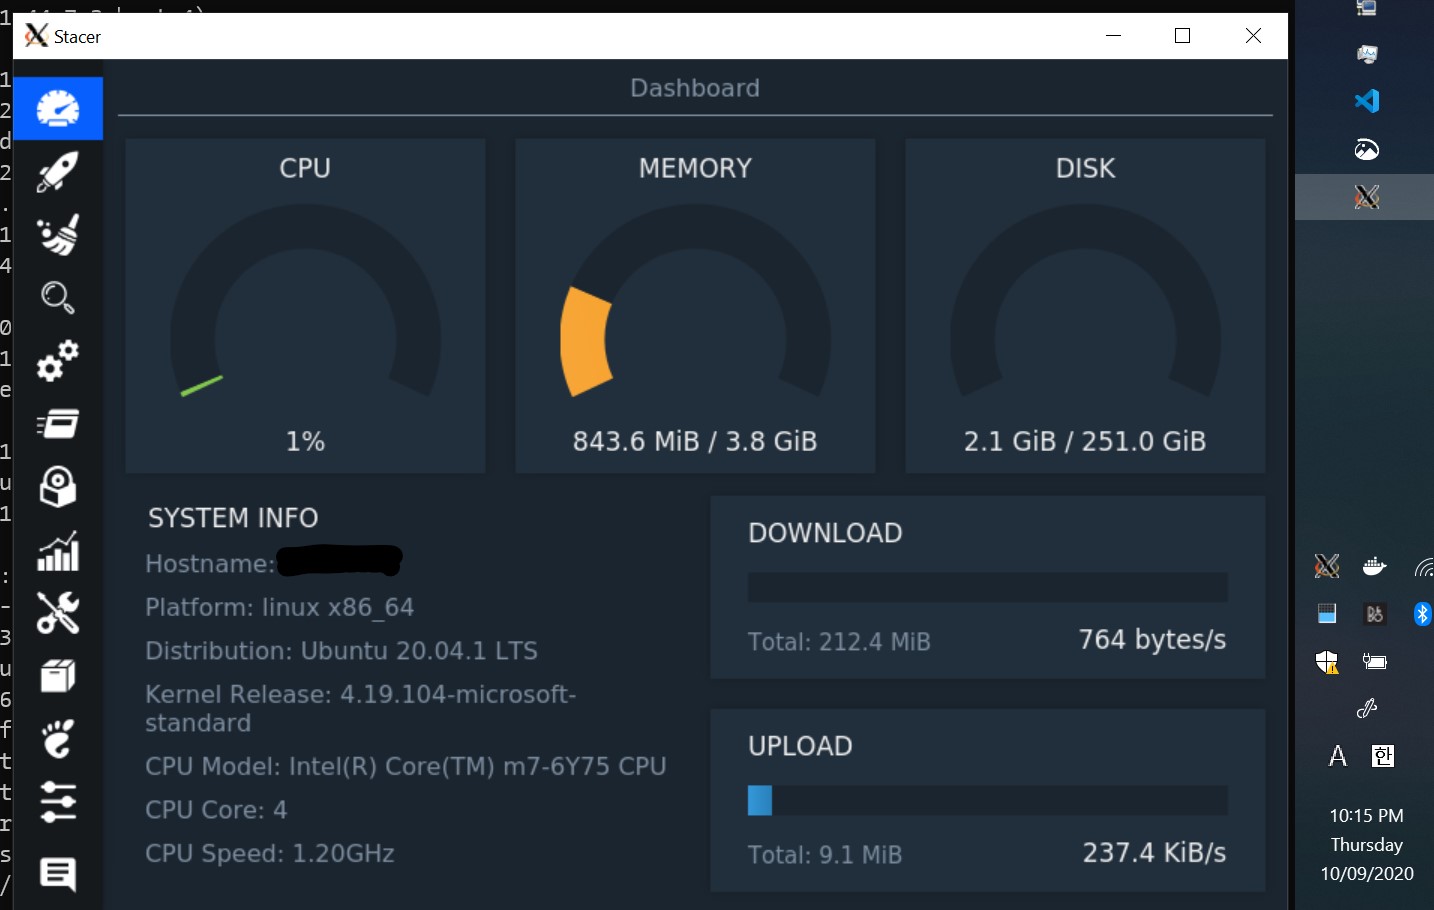
$ sudo apt install stacer
$ export DISPLAY=$(awk '/nameserver / {print $2; exit}' /etc/resolv.conf 2>/dev/null):0
$ export LIBGL_ALWAYS_INDIRECT=1
$ stacer
Those commands will install Stacer and launch in Windows side
Docker Desktop
Installing Docker on Windows is simple. Just download it here and install.
Since it provide a predefined service like an app, many projects utilise Docker in their project. But Using docker in Windows could be challenging due to the difference of the file system.
There is a nice blog article from Docker.
Even if your project does not require Docker, it would be beneficial.
For example, if you are not a ruby developer but if you want to use ruby for like writing a jekyll blog. You can use Docker to do that without installing all the ruby tools.
Moreover, you can install apps and Docker can start it always. How about getting a local music player for local files, Airsonic (Docker hub)
Limiting container memory
Using docker-compose is easier to manage the containers.
You can manage multiple containers
and save all the options in the file and creating, start, stop and removing are quite handy.
Conatainers can be named using container_name BTW.
If you have not used it yet, please leran more about docker-compose
Use docker-compose version 2 (2.4 is latest at the point of writing this article) if you are not using Swarm.
mem_limit: 512m will limit the memory usage to 512M
** This can also be done by --memory=512m using docker
VSCode
vscode seems like being a de facto standard. If you’re not a big fan of the other fancy editors, you can use this.
There is a nice document from MS
Where should the project files be placed
If your project is using docker and watching your source code and try to rebuild, it will not be working in Windows. This could be challenging to know the reason why.
If you are using windows dev tools you can keep source files in Windows side.
If you want to avoid hassles, just stay only in the WSL side.
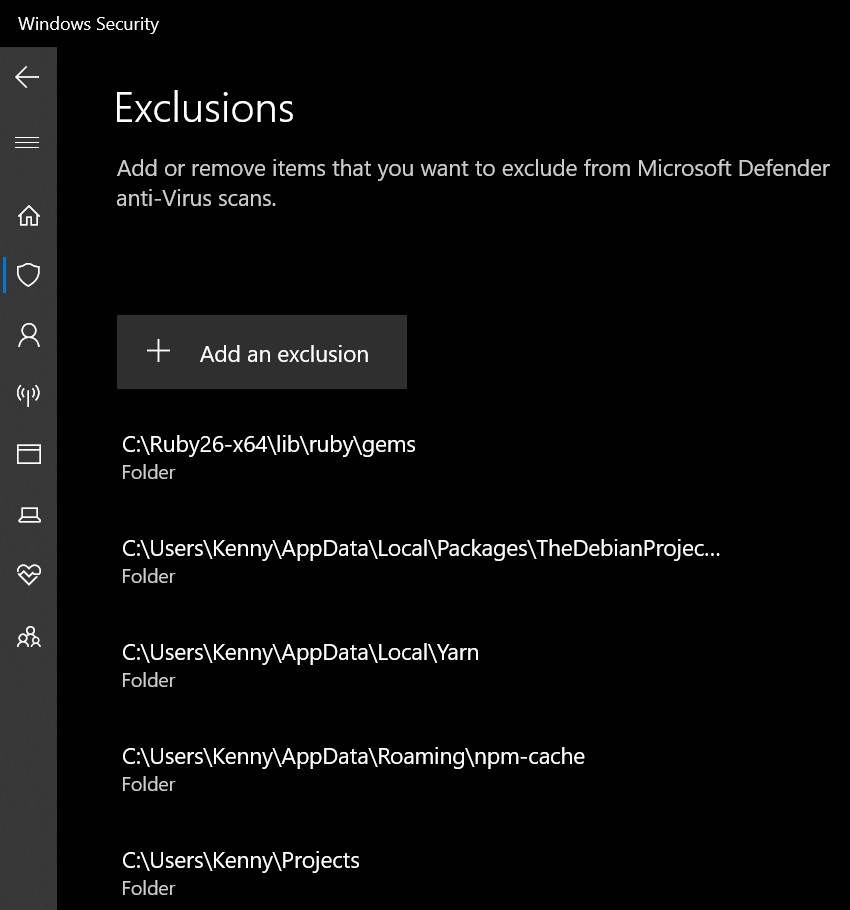
Defender Antivirus Exclusion
You can put the all repo, project files in one directory in your home directory such as Projects. Usually it could create many automatically generated files in it.
For example, node_modules, .bundle, vendor, build or so on.
You can speed up by excluding Antivirus scanning.
If you feel some building process is quite slow, you can turn on the task manager and locate Antimalware Service Executable and if that consumes CPU over 10%, consider adding some more exclusion.
Optionals
Chocolatey, package manager
It has so less hassles to install all the tools manually. It is like using Homebrew (brew) in mac.
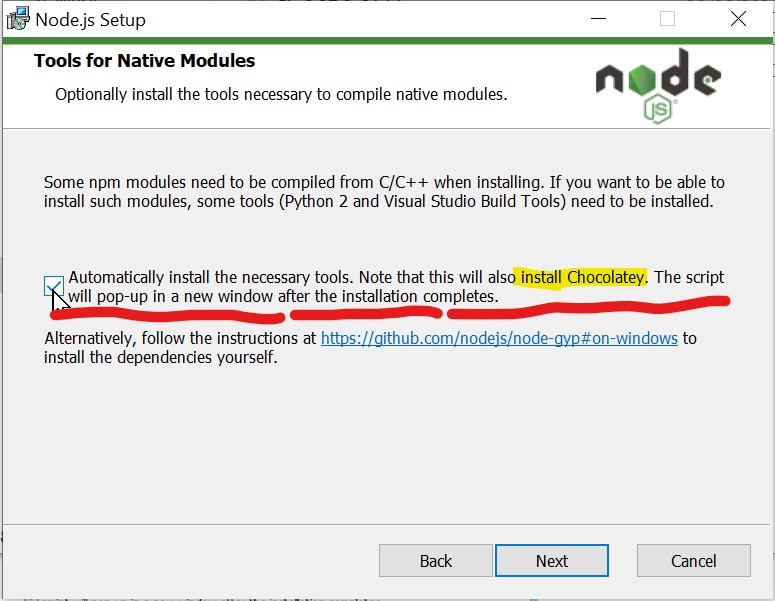
Using Node.js in Windows side
If you are a frontend developer or nodejs developer, you would have already Node.js installed. The latest Node.js installer actually includes build tools and package manager for Windows, Chocolatey. Don’t forget to install necessary tools. Unless you would have some error while building binary packages.
When it is used in Gitbash, it is better. Even if your projects uses bash scripts which is usually not supported in Windows, you can still run it with git-bash.
You will need to exclude npm/yarn cache from Defender Antivirus setting.
%APPDATA%\npm-cache
%LOCALAPPDATA%\Yarn
Say Hello to Windows
Thanks to WSL2, Windows machine is also have been developer friendly. Docker performance it not worse than OSX and you can use it on Home Edition too. It actually has a better multiple display experience than OSX and Cleartype will give you a better font rendering in full HD display (might be a personal preference though). Edge browser is now chromium based.
I still don’t like too many rebooting but I would choose next dev machine as a Windows laptop :)